Well, today marks another birthday for me, I decided to make another list on this birthday like I did for the last and for the year before. Again, not focused on to-do's, goals, or things that I want, this is a positive list! But, you know I realized this whole birthday list thing is only going to get harder considering that number is only going to continue to go up, LOL! So...
I know everyday in this life isn't perfect and I know I don't have everything figured out... but this is a list of the 29 things I am happy about and thankful for in my life as it is right now- on this birthday.
At Twenty-Nine Years Old...
1. I grew an appreciation for gray days, instead of them seeming gloomy I find comfort in them. Gray days are a reason to relax and take some time for yourself.
2. I found my hidden roadshow talent- well maybe not a roadshow, but it was a hoot entertaining coworkers by folding up into a large basket... the photo cracks me up, I look like a cartoon rabbit being pulled out of a hat, haha!

3. I took time this year to learn more about myself and things that are tough emotionally for me. Being more open is helping me to accept some of those faults and change them.
4. We thought our house would be a "5 year" house. We are at four and a half now and I can't imagine leaving this home or our neighbors yet. Who knows what life will bring us next, all I know now is that our little nook in Homewood truly is a special place. I understand why I have neighbors that have spent the last 40 years here, I'm thankful for them and other neighbors that have been here 2, 5, or 29 years. We've all shaped the special character of Homewood.
5. I know we've said it before, but our neighbors are very cool and I'm very thankful for that! I'm especially happy that we've grown a special friendship with our next door neighbors. Movies, Twins games, country concerts, Christmas holidays, backyard BBQ's, beer-fueled 4th of Julys, and many "group hugs" later I'm still happy that real estate fate brought us together :) Lisa and Chris, very thankful for you!

6. My sister and I have reconnected with our step sister. I guess I should say former, but even though an ended marriage changed the title of our relationship, she is always going to feel like a sister. I wish and will always wish the best for you Samantha. I'm proud of you and excited for you to start college and experience dorm life this fall!
7. Each year I learn more and more about marriage. Marriage is work like everyone says it is. I know Alex better than anyone, I can predict what he is going to say, know how he reacts, what he wants with his food, etc. He knows I love him and I know he loves me... but I've learned married life is sweeter when we keep trying to earn that love instead of expecting it. Never take love for granted.
8. We're heading out on vacation again next week for Europe part II the Sequel! Oops, I haven't mentioned that yet at all, super behind on blog stuff (perhaps because of the trip prep?) but yes, no joke we are going to Prague, Dubrovnik, Milan and Rome! How can that not make my list?!!?

9. Related to #8, I am so, so, so thankful to have a partner to explore the world with and I look forward to every adventure ahead in life because I will be experiencing them with you.
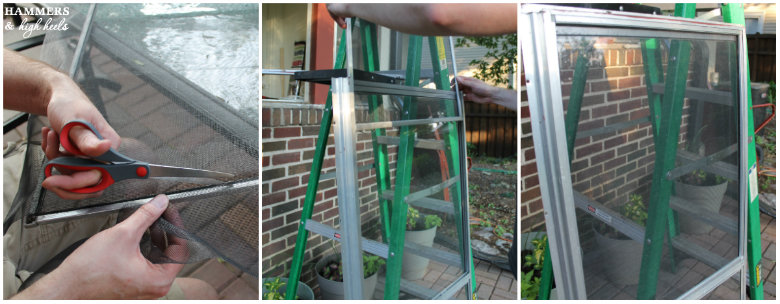
10. I became afarmer gardener this year! I'm very impressed by our mad gardening skillz.
11. Although I love blogging, I am thankful I've been letting myself break my post-per-week rules a little bit this summer so I can take time to really enjoy it! Ahhh summer!

12. Additional awesome skill learned this year- the crazy Cups things Anna Kendrick does in Pitch Perfect. Now if only I can get the singing thing down? I'll save that for 30 perhaps.
13. I don't really like to talk about appearance or weight, but I am very thankful that I've been able to keep off the 10 lbs I gained after we got married. Being the right, healthy version of me feels so much better!
14. I will have another nephew very soon! Watching my sister and sister-in-law as mothers brings me a lot of happiness. I can see all the love and joy in their hearts when they are with their little ones, and I am so thankful for that.

15. Related to #14, I will have a new nephew to meet soon and that means Henri is going to be a big brother! I really look forward to seeing his imagination at play with a sibling :)
16. I know I had to add this to the list (again) because I know someone will wonder given numbers #14 and #15 above- I am thankful that Alex and I are still a two-some with two pups and yes, I know I am only getting old here but this feels right for us and who knows when or if that will change. After 7 years together and 4 years of it married, we're happy kickin' it with each other and I still want Alex all to myself :)
17. I experienced the most challenging and rewarding year of my career over the past year. Through all the long projects, stress, and risks I ended up learning more about what I am passionate about doing. I'm thankful for all the new challenges ahead knowing that I will continue to grow.
18. How can I forget my little Rocco and Sadie. Honestly, they feel like a major pain in the buns sometimes, but I love them like crazy. There's no feeling like coming home to two happy, furry, adorable kiddos that think you are their whole world and love you just that way.

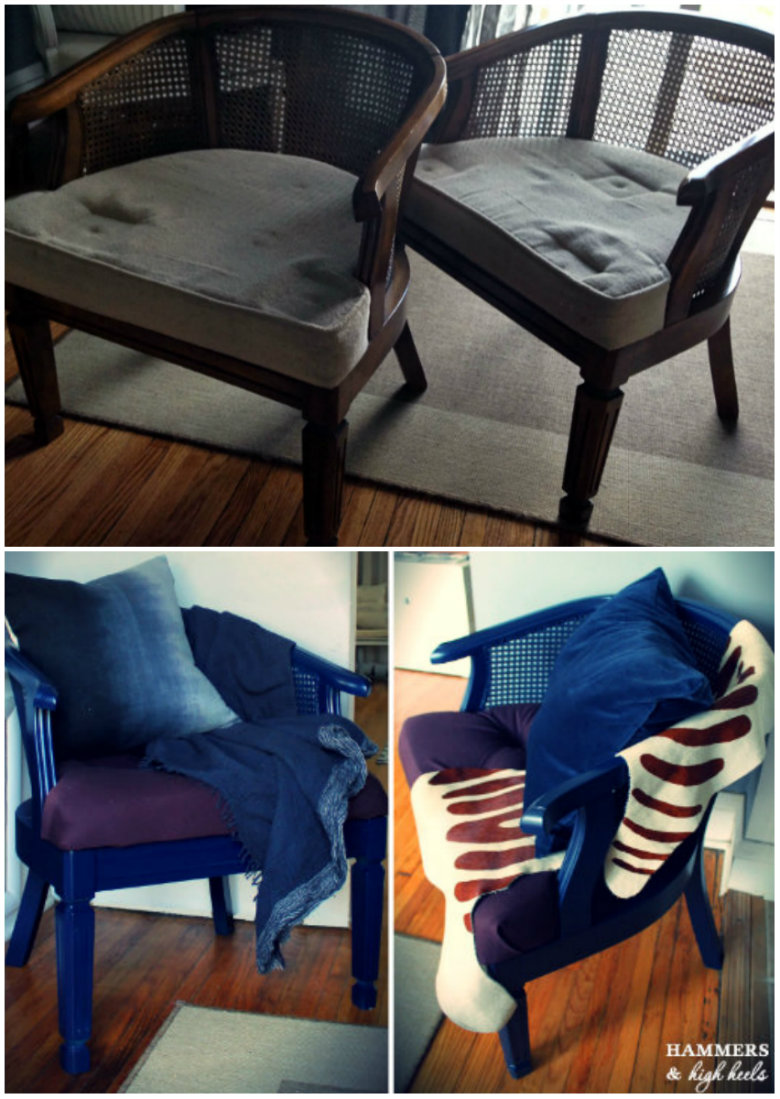
19. I love this blog and thankfully I now love the way the blog looks. Hammers and High Heels is a part of my life and I'm still very thankful to Kayd for creating a look for it that I can feel proud of and happy every time I get to share it.
20. I had my first food truck lunch experience! Not sure why I waited so long, fish tacos from a truck are real darn good even though it sounds strange.

21. July 31st is extra special not just for my birthday but because it marks the day that my sister got to bring my niece Brynn home from the hospital. Brynn came 6 weeks early and I know it was incredibly hard for Holly to not get to bring her home. I will never forget when I heard one year ago that she finally got to bring her baby girl home :)
22. Homes all around us that were vacant or in poor shape are now occupied and renovated or are in process of renovation. It's refreshing that more and more people seem to be taking a second look at North Minneapolis (NoMi) and Homewood.
23. It scares me that this is my last 20's birthday, but I know my 30's will be thoughtfully shaped by all the things I've learned and the experiences I had in my 20's. I am ready to embrace the older wiser Carla.
24. My hubby is taking on his first half Ironman race on Sunday- 1.2 mile swim, 56 mile bike ride, and a 13.1 mile run. He has trained for this race for 9 months and I admire his commitment to be able to achieve his goals for this race. Most of all though, I am so proud to be his wife and cheer him on throughout the long race. You amaze me Alex.

25. Looking back at my 20's with only one year left until 30, I'm happy thinking of where I started and where I am now. The memories still feel like just a year or two ago, but the 20 year old me feels worlds away from me now.
26. I thankfully kicked off my birthday today with Peanut Butter and Jelly cupcakes and the Golden Girls 1st season on DVD! Thank you for being a friend Dean :)

27. So I'm going to admit that this birthday kinda sucks- at 9:59pm I am doing laundry and bathing the dogs all in prep for our BIG vacation. So, despite this crap-tacular birthday I am so flipping THANKFUL that suffering through this in order to be in Prague on Tuesday, followed by Milan, Dubrovnik, and Rome. Perhaps I'll blow out some candles somewhere then.... ahhh!
28. Well, as I finish this post up so late, Bravo reminds me that I'm thankful for Watch What Happens Live and Andy Cohen. You create all great guilty pleasure shows that I love Andy, and your shows are often playing during all my projects and the posts I write. I'll sport a side pony any day or number of days if it means I can be a clubhouse bartender... yep, birthday wish, there ya go!
29. I know my 20's aren't over just yet, but as I gear up for 30 I only hope I discover more about my purpose, or what my life will be defined by. It sort of scares me that I don't know but even though I'm nearing 30 (which sounds old but now that I am close it's not really anymore) I have a lot of life left to live, and many more years to define me and my life- and I am very thankful and hopeful for that!
Here's to starting 29 from where I am at right now! Cheers!
I know everyday in this life isn't perfect and I know I don't have everything figured out... but this is a list of the 29 things I am happy about and thankful for in my life as it is right now- on this birthday.
At Twenty-Nine Years Old...
1. I grew an appreciation for gray days, instead of them seeming gloomy I find comfort in them. Gray days are a reason to relax and take some time for yourself.
2. I found my hidden roadshow talent- well maybe not a roadshow, but it was a hoot entertaining coworkers by folding up into a large basket... the photo cracks me up, I look like a cartoon rabbit being pulled out of a hat, haha!
3. I took time this year to learn more about myself and things that are tough emotionally for me. Being more open is helping me to accept some of those faults and change them.
4. We thought our house would be a "5 year" house. We are at four and a half now and I can't imagine leaving this home or our neighbors yet. Who knows what life will bring us next, all I know now is that our little nook in Homewood truly is a special place. I understand why I have neighbors that have spent the last 40 years here, I'm thankful for them and other neighbors that have been here 2, 5, or 29 years. We've all shaped the special character of Homewood.
5. I know we've said it before, but our neighbors are very cool and I'm very thankful for that! I'm especially happy that we've grown a special friendship with our next door neighbors. Movies, Twins games, country concerts, Christmas holidays, backyard BBQ's, beer-fueled 4th of Julys, and many "group hugs" later I'm still happy that real estate fate brought us together :) Lisa and Chris, very thankful for you!
6. My sister and I have reconnected with our step sister. I guess I should say former, but even though an ended marriage changed the title of our relationship, she is always going to feel like a sister. I wish and will always wish the best for you Samantha. I'm proud of you and excited for you to start college and experience dorm life this fall!
7. Each year I learn more and more about marriage. Marriage is work like everyone says it is. I know Alex better than anyone, I can predict what he is going to say, know how he reacts, what he wants with his food, etc. He knows I love him and I know he loves me... but I've learned married life is sweeter when we keep trying to earn that love instead of expecting it. Never take love for granted.
8. We're heading out on vacation again next week for Europe part II the Sequel! Oops, I haven't mentioned that yet at all, super behind on blog stuff (perhaps because of the trip prep?) but yes, no joke we are going to Prague, Dubrovnik, Milan and Rome! How can that not make my list?!!?
9. Related to #8, I am so, so, so thankful to have a partner to explore the world with and I look forward to every adventure ahead in life because I will be experiencing them with you.
10. I became a
11. Although I love blogging, I am thankful I've been letting myself break my post-per-week rules a little bit this summer so I can take time to really enjoy it! Ahhh summer!
12. Additional awesome skill learned this year- the crazy Cups things Anna Kendrick does in Pitch Perfect. Now if only I can get the singing thing down? I'll save that for 30 perhaps.
13. I don't really like to talk about appearance or weight, but I am very thankful that I've been able to keep off the 10 lbs I gained after we got married. Being the right, healthy version of me feels so much better!
14. I will have another nephew very soon! Watching my sister and sister-in-law as mothers brings me a lot of happiness. I can see all the love and joy in their hearts when they are with their little ones, and I am so thankful for that.
15. Related to #14, I will have a new nephew to meet soon and that means Henri is going to be a big brother! I really look forward to seeing his imagination at play with a sibling :)
16. I know I had to add this to the list (again) because I know someone will wonder given numbers #14 and #15 above- I am thankful that Alex and I are still a two-some with two pups and yes, I know I am only getting old here but this feels right for us and who knows when or if that will change. After 7 years together and 4 years of it married, we're happy kickin' it with each other and I still want Alex all to myself :)
17. I experienced the most challenging and rewarding year of my career over the past year. Through all the long projects, stress, and risks I ended up learning more about what I am passionate about doing. I'm thankful for all the new challenges ahead knowing that I will continue to grow.
18. How can I forget my little Rocco and Sadie. Honestly, they feel like a major pain in the buns sometimes, but I love them like crazy. There's no feeling like coming home to two happy, furry, adorable kiddos that think you are their whole world and love you just that way.
19. I love this blog and thankfully I now love the way the blog looks. Hammers and High Heels is a part of my life and I'm still very thankful to Kayd for creating a look for it that I can feel proud of and happy every time I get to share it.
20. I had my first food truck lunch experience! Not sure why I waited so long, fish tacos from a truck are real darn good even though it sounds strange.
21. July 31st is extra special not just for my birthday but because it marks the day that my sister got to bring my niece Brynn home from the hospital. Brynn came 6 weeks early and I know it was incredibly hard for Holly to not get to bring her home. I will never forget when I heard one year ago that she finally got to bring her baby girl home :)
22. Homes all around us that were vacant or in poor shape are now occupied and renovated or are in process of renovation. It's refreshing that more and more people seem to be taking a second look at North Minneapolis (NoMi) and Homewood.
23. It scares me that this is my last 20's birthday, but I know my 30's will be thoughtfully shaped by all the things I've learned and the experiences I had in my 20's. I am ready to embrace the older wiser Carla.
24. My hubby is taking on his first half Ironman race on Sunday- 1.2 mile swim, 56 mile bike ride, and a 13.1 mile run. He has trained for this race for 9 months and I admire his commitment to be able to achieve his goals for this race. Most of all though, I am so proud to be his wife and cheer him on throughout the long race. You amaze me Alex.
25. Looking back at my 20's with only one year left until 30, I'm happy thinking of where I started and where I am now. The memories still feel like just a year or two ago, but the 20 year old me feels worlds away from me now.
26. I thankfully kicked off my birthday today with Peanut Butter and Jelly cupcakes and the Golden Girls 1st season on DVD! Thank you for being a friend Dean :)
27. So I'm going to admit that this birthday kinda sucks- at 9:59pm I am doing laundry and bathing the dogs all in prep for our BIG vacation. So, despite this crap-tacular birthday I am so flipping THANKFUL that suffering through this in order to be in Prague on Tuesday, followed by Milan, Dubrovnik, and Rome. Perhaps I'll blow out some candles somewhere then.... ahhh!
28. Well, as I finish this post up so late, Bravo reminds me that I'm thankful for Watch What Happens Live and Andy Cohen. You create all great guilty pleasure shows that I love Andy, and your shows are often playing during all my projects and the posts I write. I'll sport a side pony any day or number of days if it means I can be a clubhouse bartender... yep, birthday wish, there ya go!
29. I know my 20's aren't over just yet, but as I gear up for 30 I only hope I discover more about my purpose, or what my life will be defined by. It sort of scares me that I don't know but even though I'm nearing 30 (which sounds old but now that I am close it's not really anymore) I have a lot of life left to live, and many more years to define me and my life- and I am very thankful and hopeful for that!
Here's to starting 29 from where I am at right now! Cheers!